Published by PitchChanger · Updated · How these guides are made
Hear the difference
Compare the original synthetic hit, its forward tail, the reversed complete tail, and the alternative processing order. Keep the same playback level.
Pause your workspace preview before comparing these clips.
These are real local tool exports at 48 kHz. The hit is synthesized; there is no recorded performer or room. Tail duration, sample order and RMS windows were measured on the exported WAVs.
How to use this workflow
Start with a short sound you can reuse
For the example, download the original quarter-second synthesized hit below. Open Reverb & Delay and choose that file. With your own recording, isolate the intended hit first so unrelated sounds are not included in the effect.
Generate the tail before reversing
Select Large Hall, set Reverb mix to 0.80 and leave Feedback delay off. The selected preset uses a 3-second decay and 0.025-second pre-delay. Press Generate effect, then download the complete WAV without trimming its ending.
Reverse the downloaded effect file
Open Reverse Audio and choose the reverb export, not the dry source. Press Reverse audio and download WAV. This reverses every channel across the entire result, including the tail.
Check the full swell and its ending
Listen from the beginning at a sensible level and compare the files below. If you want the swell to end at a particular point in a song, place and align it in an external editor; this tool does not layer it under a separate forward hit.
Render a reverb tail first and preserve its ending
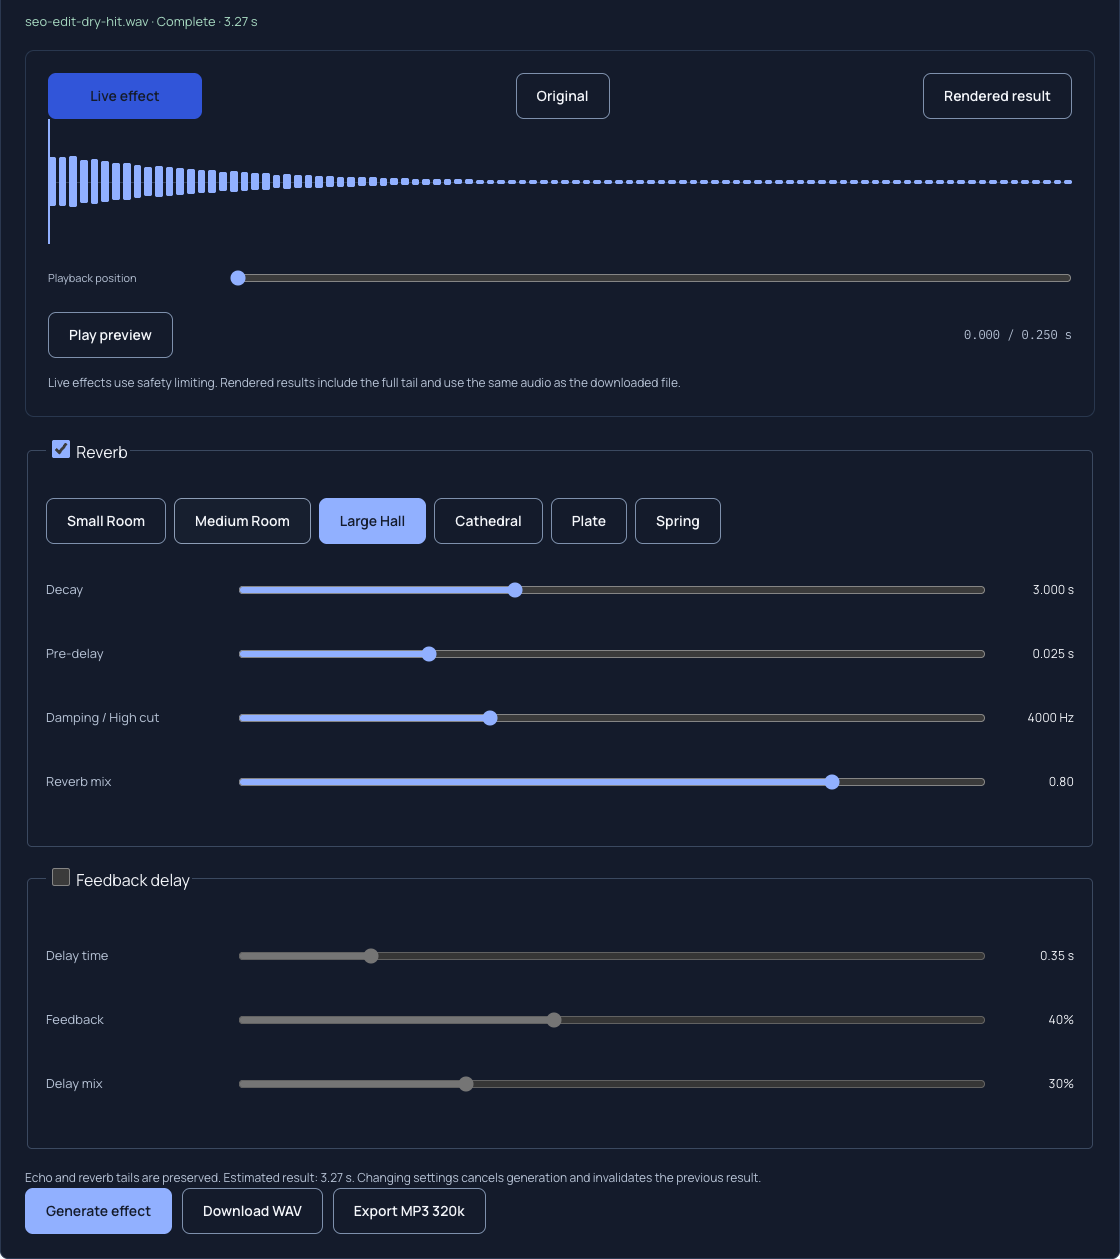
The reverb export contains sound beyond the source’s original duration. Cutting the file at the dry hit’s endpoint would discard the very tail you want to reverse. Wait for Generate effect to finish and use its downloaded result.
Our original synthesized hit lasts 0.250 seconds. With Large Hall at 3 seconds decay, 0.025 seconds pre-delay and 80% mix, the real export lasts 3.275 seconds: 0.250 seconds of source plus 3.025 seconds of allocated tail. That export length is not a measurement of a physical room’s reverberation time.
Reverse the resulting whole WAV
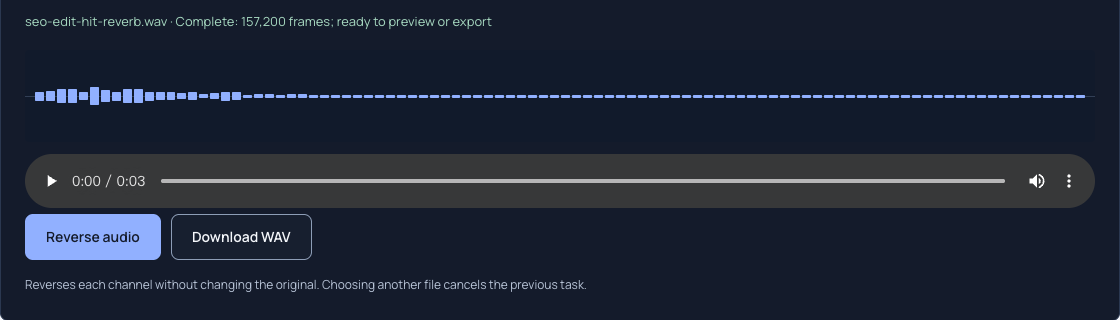
Reversal maps the last sample to the beginning and the first sample to the end. It does not add a volume fade: the rising energy comes from playing the original decay backward. Left and right channels keep their identities if the input is stereo.
The measured forward and reversed exports each contain 157,200 frames at 48 kHz. Comparing every decoded sample confirmed exact reversed sample order in this run. The full tail survived because no end trimming occurred between the two tools.
Why reversing first is a different experiment
We also reversed the dry hit first, then applied the same reverb settings. That produces a backward hit feeding a forward-decaying reverb. The result has the same total duration but a different time distribution of energy.
The table measures RMS amplitude in the first and final 0.5 seconds of each full export. RMS is a numerical level measure here, not a loudness certification or a quality score. The reversed-tail file swaps the low-energy ending and the higher-energy beginning of the forward file.
Swipe or scroll sideways to read all columns.
| Actual export order | First 0.5 s RMS | Final 0.5 s RMS |
|---|---|---|
| Dry hit → reverb | 0.067350 | 0.000106 |
| Dry hit → reverb → reverse | 0.000106 | 0.067350 |
| Dry hit → reverse → reverb | 0.057331 | 0.000195 |
Place the swell without promising an unchanged forward hit
Reversing the entire effect also reverses the dry component that remains in the mix. This experiment creates a rising texture; it does not end in an untouched forward version of the source. A vowel, consonant or drum attack can therefore change direction as part of the effect.
To lead into a normal forward hit, place the exported swell and the untouched hit on separate tracks in an external editor, then align and balance them by listening. Neither Reverse Audio nor Audio Cutter provides that multitrack layering step. If you trim leading silence from the reversed file, recheck the final placement because its length will change.
Check the source, settings and final download
Use a source you own or have permission to process. These examples are original synthetic signals, not excerpts from a commercial recording. They demonstrate a repeatable processing order without claiming that the same settings suit every instrument.
- Keep an untouched dry source and name the reverb and reversed files separately.
- Reverb mix is 80% in this experiment; changing it changes the balance of dry attack and tail.
- Changing effect settings invalidates the prepared result, so generate again before downloading.
- Reverse Audio exports WAV and reverses the whole file. To reverse only one region, prepare that region in Audio Trimmer first.
- Nonempty input files must stay within 250 MB; browser decoding and available memory also limit practical input size.
Common questions
Why is my reversed reverb quieter at the beginning?
A forward reverb tail usually falls toward a quieter ending. Reversing that complete tail puts the quieter ending first. In this measured example, the first and final half-second RMS levels swap exactly. Do not normalize only the quiet opening before hearing the rest of the swell.
Should I reverse the dry sound before or after adding reverb?
For this rising-tail experiment, add reverb first and reverse the rendered WAV afterward. Reversing the dry sound first produces a different input to a reverb that still decays forward. The three downloaded comparisons keep the settings fixed so you can check that difference.
Will this automatically put the rise on the next beat?
No. Reversal preserves the file’s duration and changes sample order; it does not know your song’s arrangement or target beat. Align the exported texture in an external editor and check the ending against the intended hit. The present tools do not perform that multitrack placement.